


Pre-requisites
Windows 10, version 1903 or higher.
Setting Up WSL
There are two ways that we can use to enable WSL.
The GUI Method
Open Control Panel.
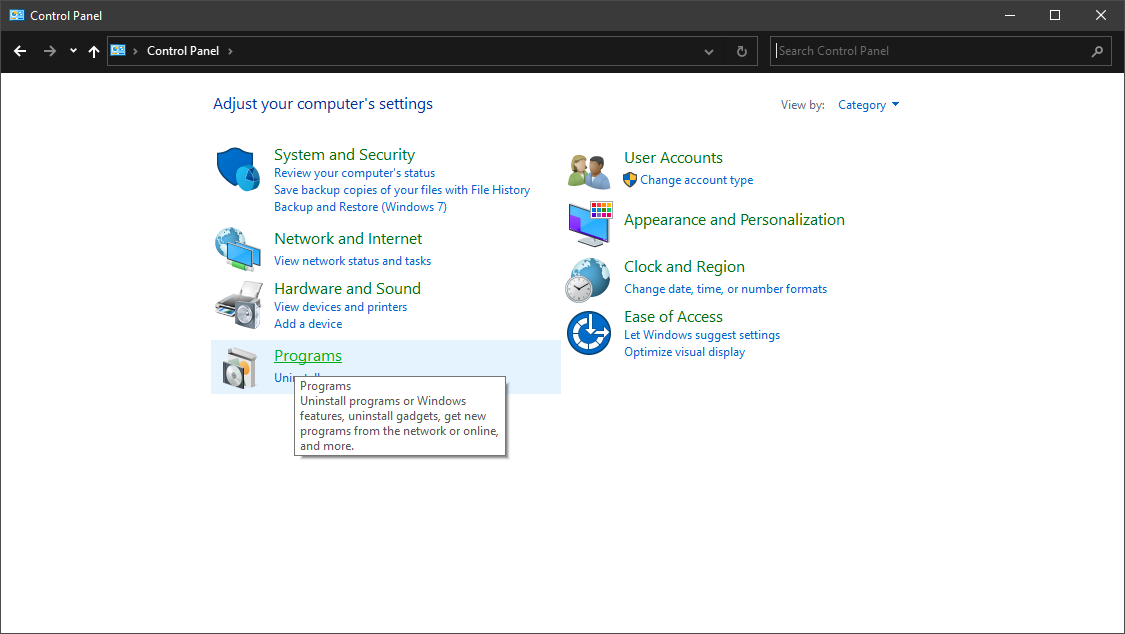
Click on Programs
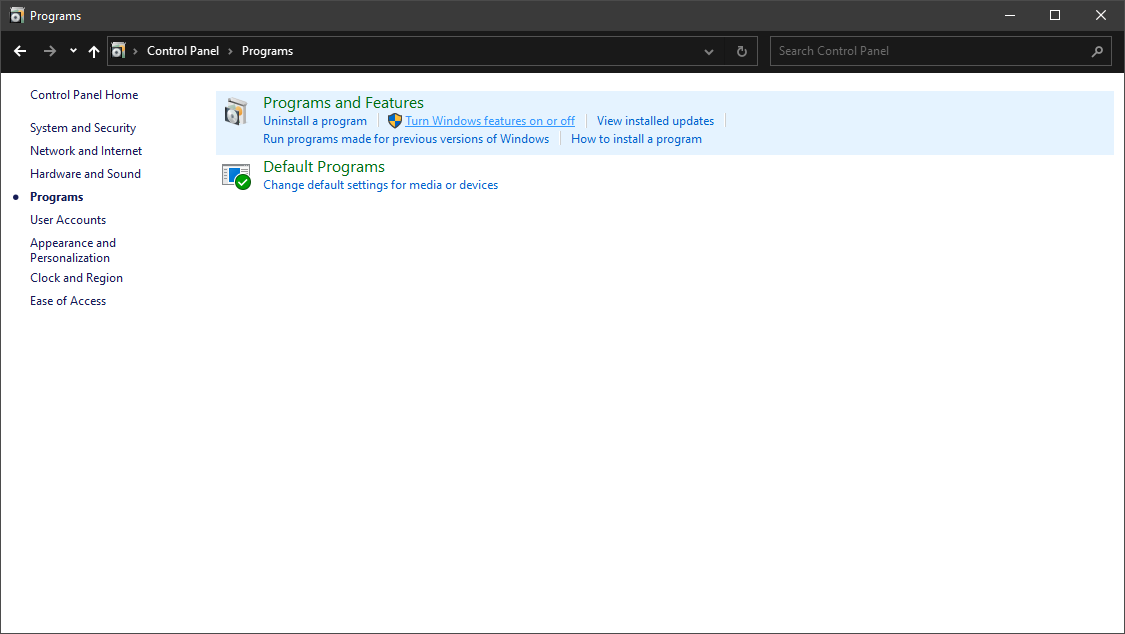
Then click on "Turn Windows features on or off".
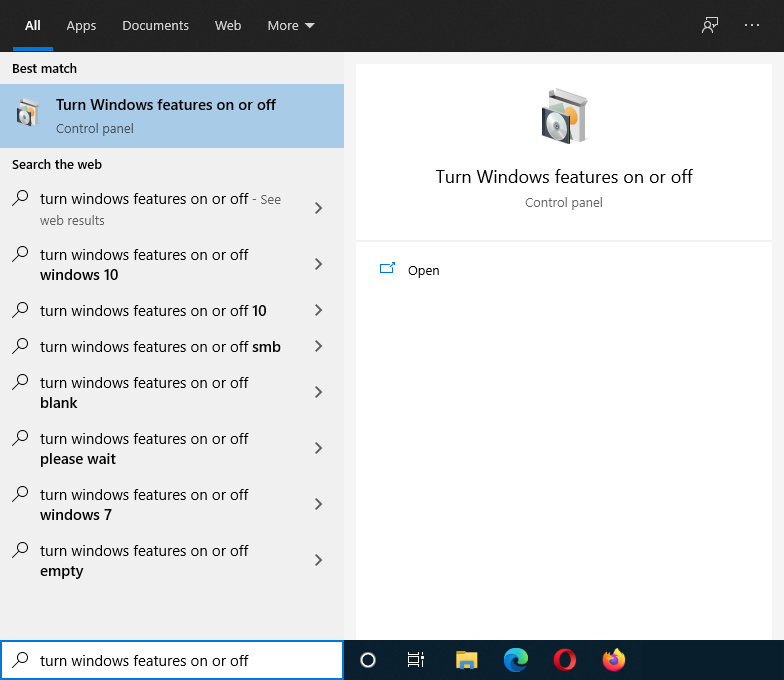
Alternatively, the Windows Features window can be searched and launched through the start menu search.
Check the box for Virtual Machine Platform and Windows Subsystem for Linux.
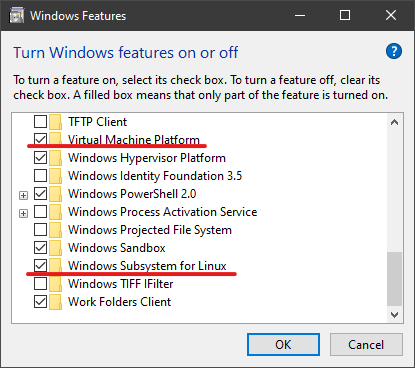
Click on Ok to apply the changes.
The CLI Method
Open PowerShell as Administrator and input the following commands to enable Windows Subsystem for Linux and Virtual Machine Platform:
dism.exe /online /enable-feature /featurename:Microsoft-Windows-Subsystem-Linux /all /norestart
dism.exe /online /enable-feature /featurename:VirtualMachinePlatform /all /norestartEnable WSL2
Download the WSL2 Kernel Update here: https://wslstorestorage.blob.core.windows.net/wslblob/wsl_update_x64.msi. Double-click to run after download.
Then in PowerShell, input the following command to set the default WSL version to 2: wsl --set-default-version 2
Installing a WSL Distribution
The easiest way to install a WSL distribution is by going to Microsoft Store and find your preferred Linux distribution. For this example, we use Ubuntu 20.04:
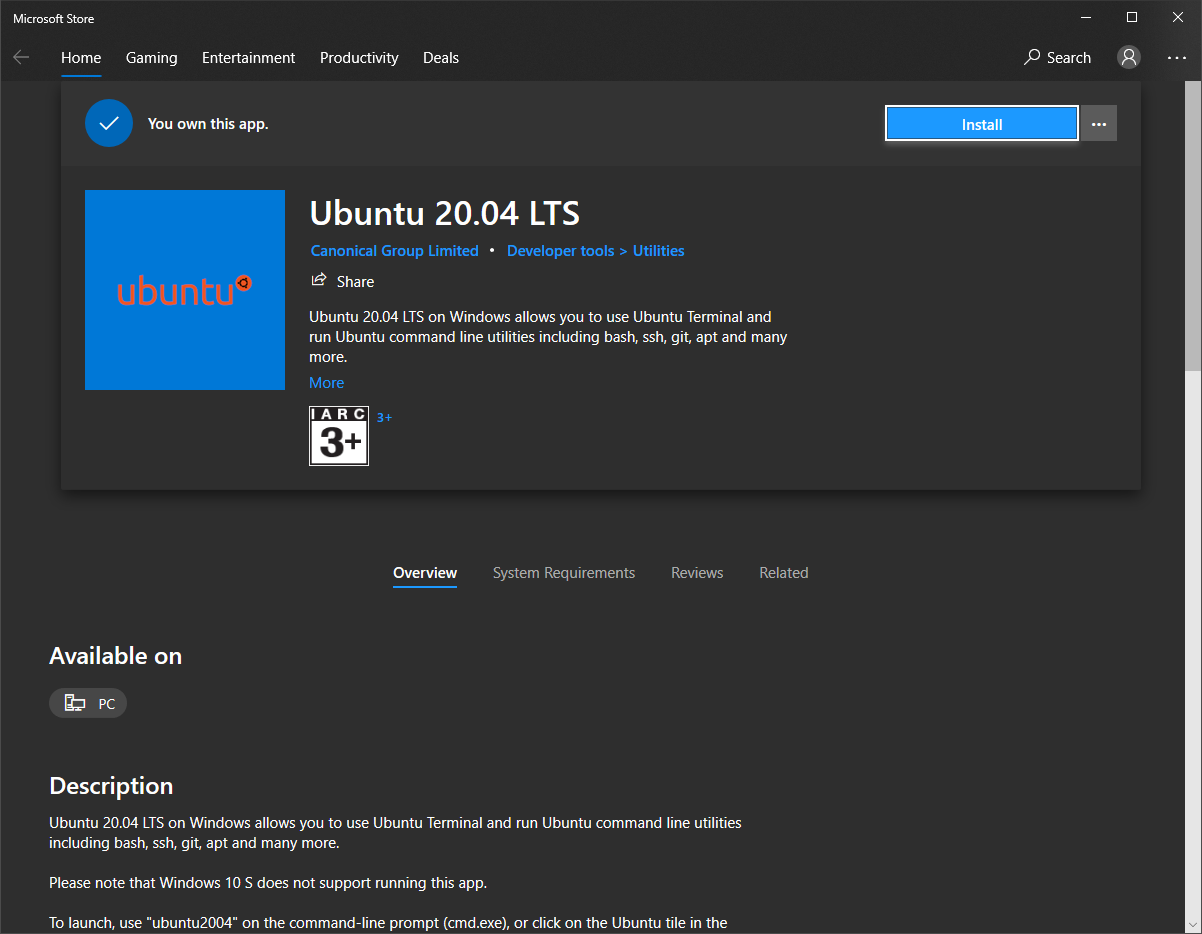
Once you have found your preferred distribution, click on Install. And once the installation is done, launch PowerShell and execute the wsl command. It should now present you with the setup screen where you set up your Ubuntu's user name and password.
Extra: Manually install a WSL distro on a different drive
There is a way to install a WSL distribution on hard drives other than the default C: drive. To do this, manually download a distribution from here: https://docs.microsoft.com/en-us/windows/wsl/install-manual
Afterwards, use archive extracting programs like 7z and extract it to a directory of your preference, for example, D:\WSL\Ubuntu-20.04. Then launch Command Prompt or PowerShell in this directory and execute ubuntu2004.exe if using Ubuntu 20.04 like so:
.\ubuntu2004.exe
Follow the user name and password instructions.
Nice! Now we have Ubuntu 20.04 installed on WSL2. Do not forget to set your default distribution for the purposes of the next sections.
wsl --set-default Ubuntu-20.04
Installing Docker
Simply download Docker for Windows installer, then run it and follow the instructions. Download it here: https://desktop.docker.com/win/stable/amd64/Docker Desktop Installer.exe
This will automatically install the executables in the default WSL distribution you have set up previously.
Limiting Maximum RAM Usage
Without limitation, WSL2 can take up a lot of RAM. In the case of 32GB RAM machines, it could take up to 20GB+. To limit the maximum RAM usage, go to %USERPROFILE%, which should resolve to your user's C:\Users folder (something like C:\Users\Ben) and create a .wslconfig file. The following .wslconfig example limits WSL usage to 16GB:
[wsl2]
# kernel=<path>              # An absolute Windows path to a custom Linux kernel.
memory=16GB                  # How much memory to assign to the WSL2 VM.
# processors=<number>        # How many processors to assign to the WSL2 VM.
# swap=<size>                # How much swap space to add to the WSL2 VM. 0 for no swap file.
# swapFile=<path>            # An absolute Windows path to the swap vhd.
# localhostForwarding=<bool> # Boolean specifying if ports bound to wildcard or localhost in the WSL2 VM should be connectable from the host via localhost:port (default true).

# <path> entries must be absolute Windows paths with escaped backslashes, for example C:\\Users\\Ben\\kernel
# <size> entries must be size followed by unit, for example 8GB or 512MB
The memory assignment can be changed up to preference, for example 8GB.
See: https://docs.microsoft.com/en-us/windows/wsl/release-notes#build-18945
Development Usage Example
Here we try to create a simple and minimal FastAPI project and run it with docker-compose.
All of the commands below are executed under Ubuntu WSL machine and so they require WSL shell. It can be opened just by pressing "Win + R" button and input wsl and then press Enter or click on "Ok", or just by executing wsl command under Command Prompt or PowerShell. Though, setting up a Windows Terminal app is more recommended: https://www.microsoft.com/en-us/p/windows-terminal/9n0dx20hk701
System Dependencies Setup
Before starting development, let's install the system dependencies first. For this example, we use Python 3.
sudo apt update && sudo apt upgrade -y
sudo apt install build-essential python3-dev python3-pip
Using Visual Studio Code (VSCode) in WSL
Download VSCode: https://code.visualstudio.com/#alt-downloads
Install the "Remote - WSL" Extension: https://marketplace.visualstudio.com/items?itemName=ms-vscode-remote.remote-wsl
Creating the Project
Create a directory for the project and (optionally) launch VSCode
cd ~
mkdir -p documents/docker-fastapi/
cd documents/docker-fastapi/
code .
To install FastAPI and Uvicorn as the server:
pip install fastapi
pip install uvicorn[standard]
Reference: https://fastapi.tiangolo.com/tutorial/
Then, create main.py under app directory (mkdir app && cd app) in the project directory with the following content:
from fastapi import FastAPI

app = FastAPI()


@app.get("/")
async def root():
    return {"message": "Hello World"}
You should now have a directory structure like the following:
.
└── app
    └── main.py
Then to run the API (with auto-reload):
uvicorn main:app --reload
When Uvicorn has completed loading, you should see the following output:
INFO: Uvicorn running on http://127.0.0.1:8000 (Press CTRL+C to quit)
This means the API server is running and is accessible through the browser using the URL in the output (http://127.0.0.1:8000). Give it a try before proceeding to Dockerize this app!
Reference: https://fastapi.tiangolo.com/tutorial/first-steps/
To run the app in Docker, create a Dockerfile in the project root with the following content:
FROM python:3.7

RUN pip install fastapi uvicorn

EXPOSE 80

COPY ./app /app

CMD ["uvicorn", "app.main:app", "--host", "0.0.0.0", "--port", "80"]
You should now have a directory structure like the following:
.
├── app
│   └── main.py
└── Dockerfile
To run without Docker Compose, simply run the following commands:
docker build -t fastapi-image .
docker run -d --name fastapi-container -p 8000:80 fastapi-image
Once the container is running, it should also be accessible at http://127.0.0.1:8000.
Reference: https://fastapi.tiangolo.com/deployment/docker/
Finally, to run with docker-compose, simply create a docker-compose.yml file in the project root with the following contents:
version: "3.8"

services:
  fastapi:
    build: "."
    ports: "8080:80"
Depending on actual project requirements, you might need to add database services like MySQL. Take a look at Docker Compose information here for more: https://docs.docker.com/compose/
Then, simply run:
docker-compose up --build
Once the build process is done and the service(s) goes up, it should be accessible at http://127.0.0.1:8080.
To clean up:
docker-compose down --rmi local

